How to make a Personal Website - The AppBrewery Way

  1. File Setup
    1. Create a file called index.html. This is your working file.
    2. Inside Index.html, create a boilerplate code. You can do this by pasting in a boilerplate, using a boilerplate shortcut, or writing the boilerplate in yourself.
    3. By the way, you can open this file by copying the filepath and pasting it into the browser. You can now view the page and what changes you commit to it by refreshing the page.
  2. Title the website. You can do this by typing in a desired title in the Head Title Element.
    1. Keep your html file organized by keeping a proper level of indentation of the code. Items that are inside another item are called a child. If anything is incorrectly indented, fix the indentation now.
  3. Write your name in an h1 element.
  4. I am POGGERS

  5. Write your title. You can choose something such as a current role. Then, nest elements to emphasize and bold part of your title.
    1. Create a new paragraph element to put the title into.
    2. Emphasize the text using an em element.
    3. Choose part of the title to bold using the strong element.

    I am a POGCHAMP and run a cool website.

  6. Write a bio. Write this inside a p element, to tell a visitor who we are.
  7. This is where my bio would go, if I had one...

  8. Add a line under your bio using a horizontal rule (hr) element.

  9. Add a Subtitle to the page to list your education. Use an h3 element for this.
  10. Education

  11. Add a bulleted list to the website. Use an unordered list and list items using ul and li elements.
  12. Add in a section for hobbies
  13. Hobbies

    1. Hobby 1
    2. Hobby 2
    3. Hobby 3
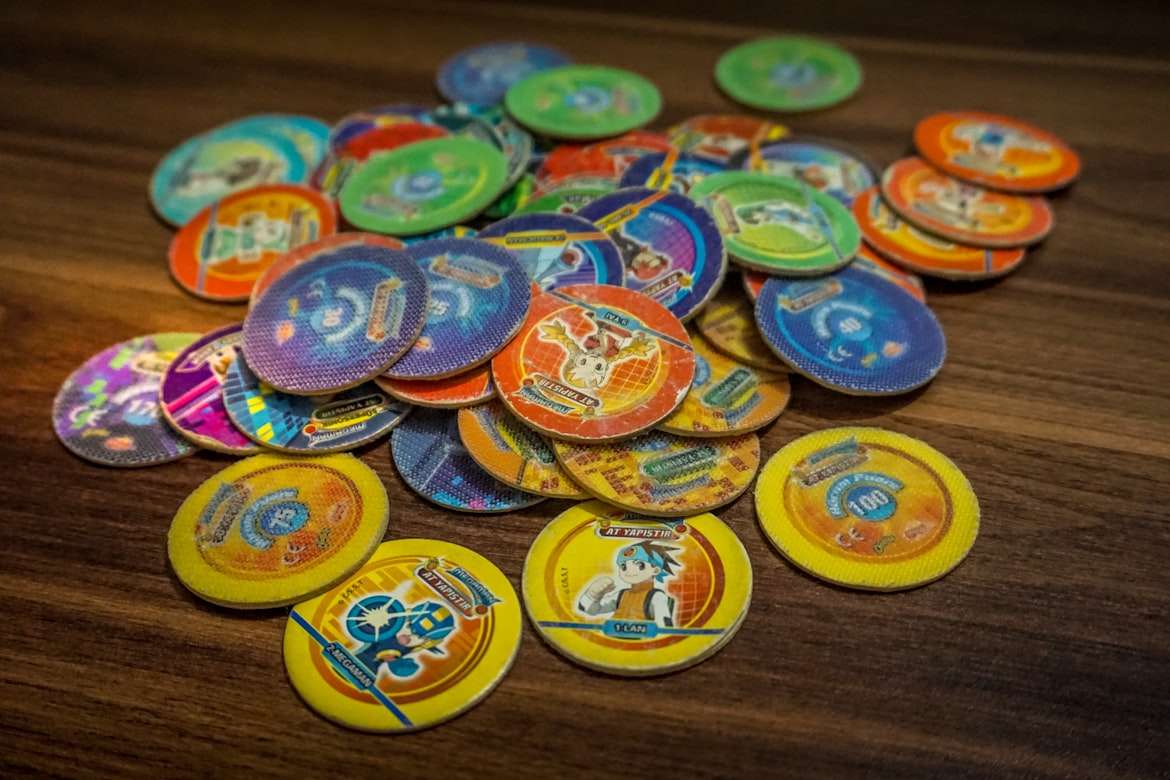
  14. Add in an image of yourself. Use an img src to add this into the page. Sadly, I am an undocumented scrungle, refusing to see the sunlight. Instead, I will right click and grab the image link of another suitable image. Here, have some digimon Pogs.
  15. digimon pogs and slammers taken by Emre Turkan

    Digimon Pogs courtesy of Emre Turkan.

    ...By the way, we're going to put the image right above our name on the website.

  16. Add Some Links!
  17. Well, we've decided that we want to turn the Hobbies into their own separate page.
    1. Create a page inside of the same folder as index.html called hobbies.html
    2. Insert the boiler plate into the hobbies.html file
    3. Place your hobbies section into the hobbies.html body.
    4. Inside the original index.html, link the local file using an a href element.
  18. A new page made already? Now we're going to follow the same steps as above to make a contact page where someone can contact us. Make sure to link it into the index page using an a href element.
    1. Create a page called contact.html
    2. Add the page to the index.html using an a href.
    3. Reminder that you should not put personally identifiable information onto the internet. Provide this information with caution.
  19. Now, we want to add in a table to list our CV.
    1. Add a section under Education called Work Experience in an h3.
    2. Add in some work experiences. I added in a few, but... Not that many.
    3. Add a hr to the space between the education and the work experience section.
    4. Create a table to better organize this information.
    5. This table should have two columns. Tables don't take columns, so instead make every row two cells large using tr for table row and td for table data.
    6. The first cell contains our date, the second cell contains our title.
    7. continue to make rows on the page, using tr, and filling it with years and jobs using td.
  20. Organizing our photo with our name. Create a table on the top of our website, and put our picture into one td cell. Then put our information such as name and title onto the right cell. also change the table's cell spacing a little to give more space between the picture and the text. 10 Px or so should do it.
  21. Alright, time for a challenge. we're going to add skills to the website. we're going to do this using tables. We want 2 columns, with the inside of each column having two cells. I've added in 4 skills, but there are sure more to be had.
  22. By the way, my solution did work, but not in the intended way. The way described uses a table with two rows, with tables inside each td. It's a nested tale.
  23. Add some cell spacing to your tables. Find the tables elements and add the attribute cell spacing=10 px to each one of them.
  24. Add in hr to divides between sections.
  25. On the contact page, let's create a form.
  26. This form will ask for a user's name, and their email. Use input text and labels to create the form.
  27. We want to change the action to mailto.